Configuration_URL
MetricWire Configuration Guide
The configuration instructions below will guide you on how to set up m2c2kit assessments within MetricWire. This configuration stores research participant data on our m2c2 server.
*Note: Photos may not be completely accurate due to constant changes to platform. (Current photos from Dec. 2024)
-
Login to MetricWire Catalyst at https://catalyst.metricwire.com/
-
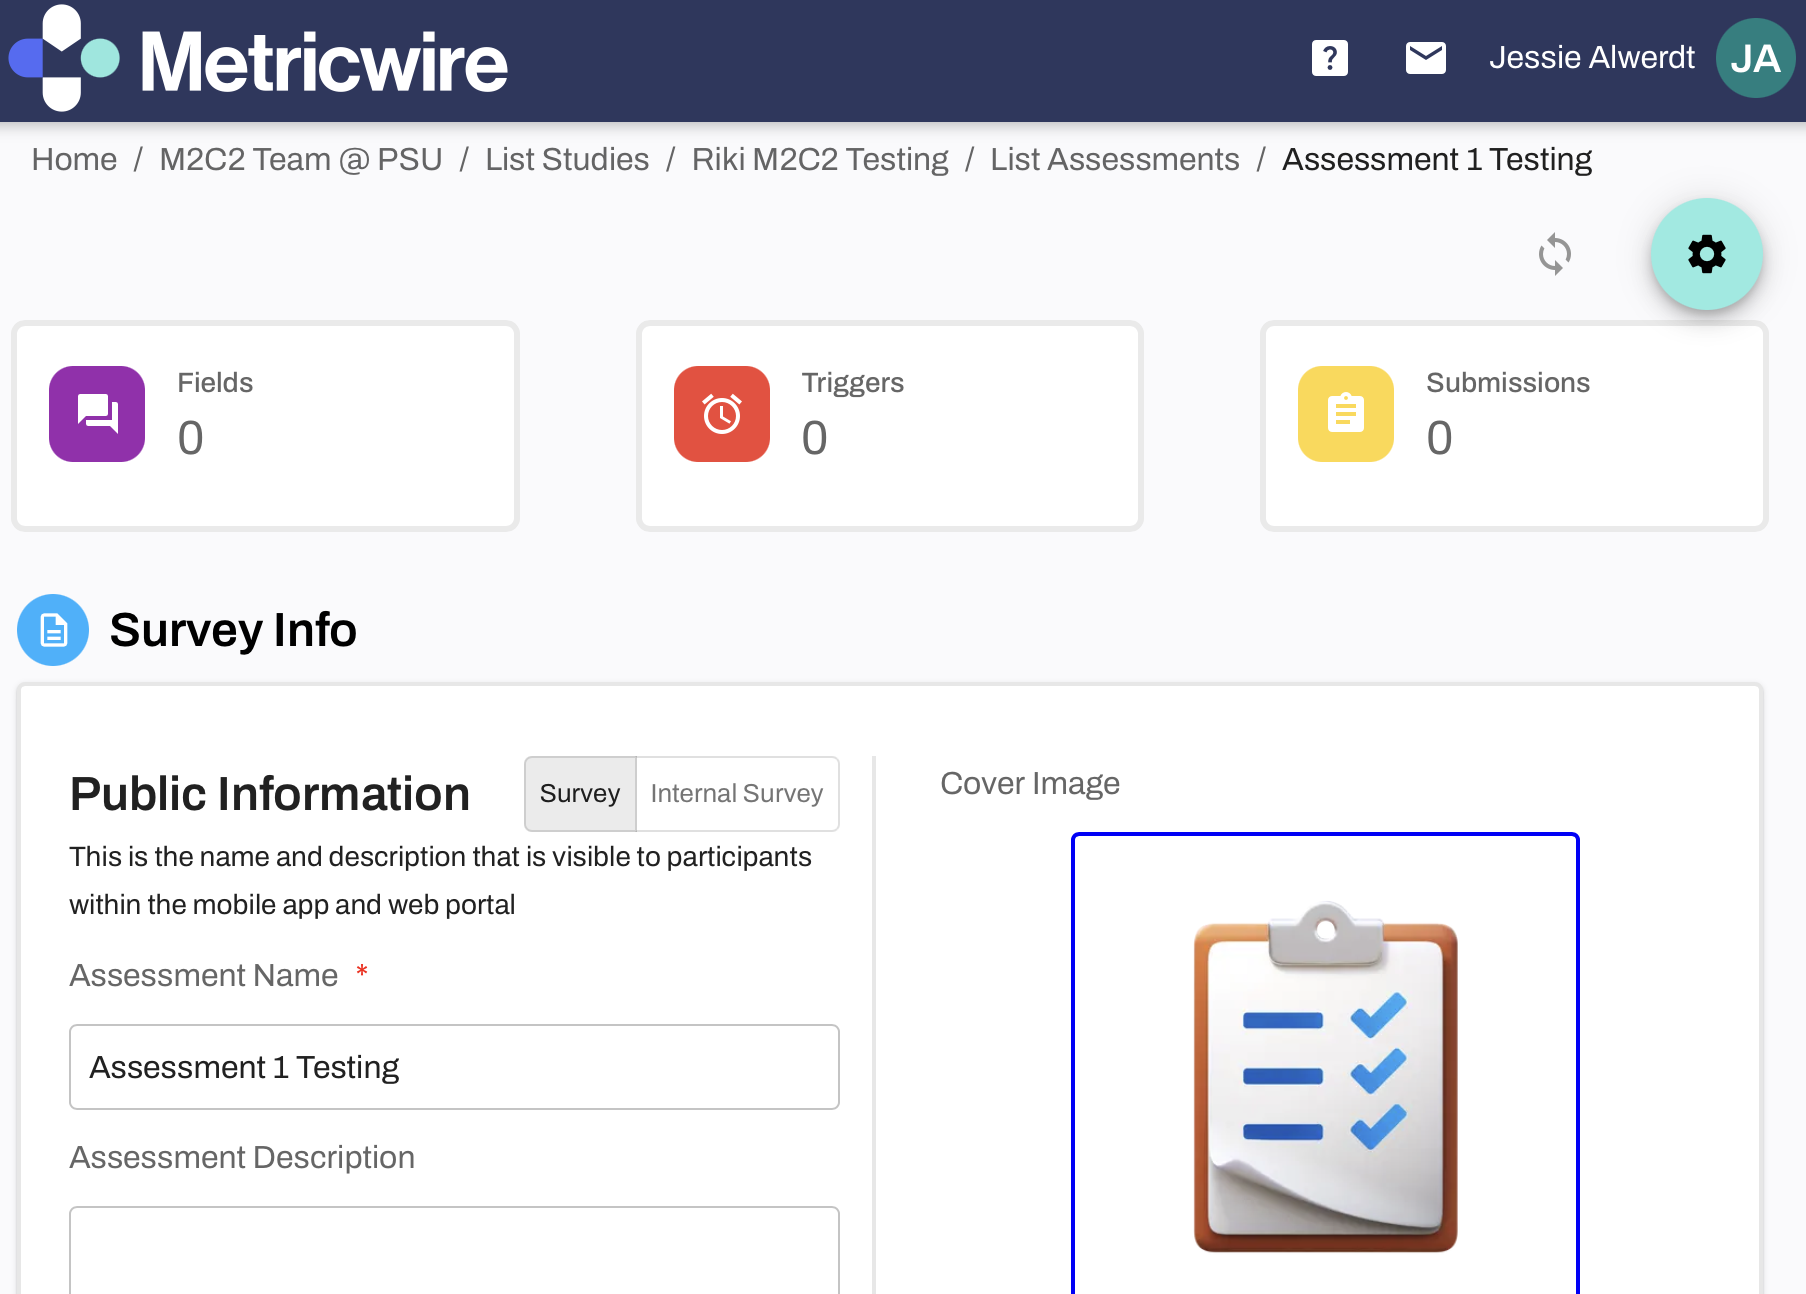
Create or edit an Assessment
On the left hand side, go to Protocol -> Assessments

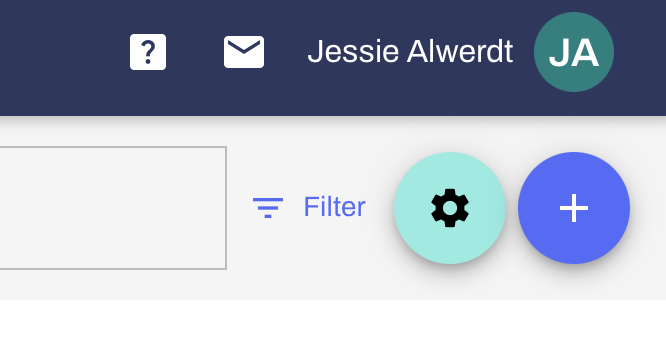
To create a new assessment, click the + sign in the upper right hand corner

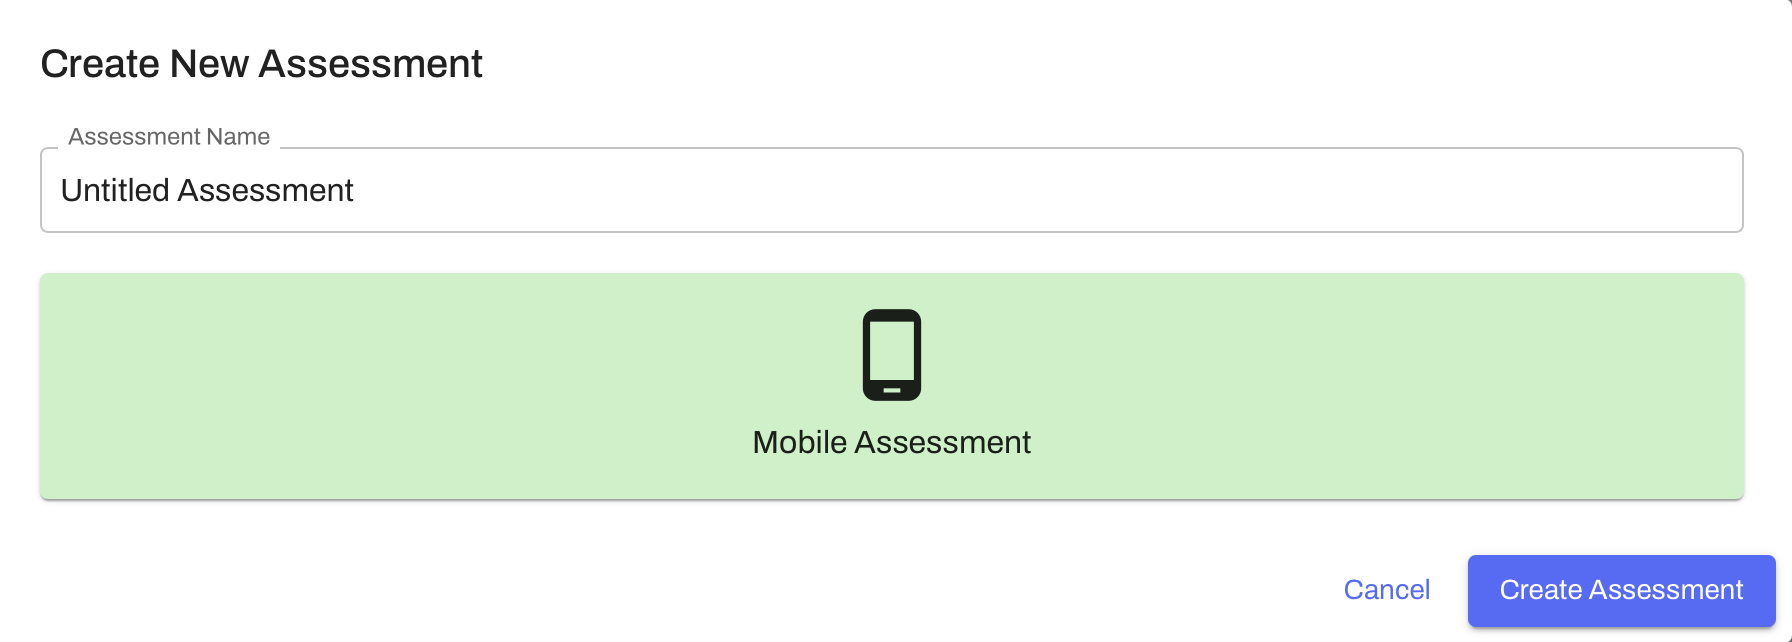
Create a name for the assessment and click "Create Assessment"

- Add a Field of type "Web View" within the assessment
Add a new Field by clicking on "Fields"

Then click the + sign in the upper right hand corner

In the pop-up window, scroll down until you see "Web View" under "Advanced Input Types" OR search for "Web View" in the search bar

- In the Webview settings, Enable 'catalyst_next_button' event to go next, then enter the Web URL (links to copy/paste are provided below)

- Enter the cognitive assessment URLs (one URL per assessment)
COLOR DOTS
COLOR SHAPES
GRID MEMORY
SYMBOL SEARCH
If you copy and paste these URLs into another platform besides metricwire, it is suggested to use a program such as Visual Studio Code or text editor.
*See important considerations below:
-
Do not delete or modify special parameters that inject identifiers from MetricWire. These store participant and session information alongside the data. Add the following text, exactly as shown, to the end of the URL:
&participant_id=|*participantUserId*|&session_id=|*submissionSessionId*|&admin_type=metricwire -
Update the
activity_nameto the cognitive assessment you want to use.activity_namepossible values are:symbol-search,grid-memory,color-shapes,color-dots -
You will likely want to change the
number_of_trialsfor each cognitive assessment. For testing purposes, you may want to keep this as is (number_of_trials=2::int) and update this later. -
Add the
study_id. The default isdemo. This will need to change to your study name before you get started. This will be requested by following the steps of the Authorization guide, below. -
Add the
api_key. The default isdemo. This must be a valid API key if you are collecting participant data. If you are ready for your API key, please follow the Authorization Guide, below. -
It is optional to add
groupas a string group indicator. -
It is optional to add
waveas a string wave indicator.
- Save changes and sync the Assessment with your study by clicking on the blue arrows.

- Publish and preview/test your study to ensure the cognitive assessments appear.
To preview/test your study, create a test account by going to the 'Contact Manager' of your workspace and select 'Create Test Accounts'. Then, add yourself as a participant with that test participant email and send yourself a survey: video demonstration
- Preview/test your study to ensure the cognitive assessments appear.
Custom assessment parameters
The assessments have many parameters that can be customized. See the reference for the GameParameters:
However although parameters are passed via URL, we still need to preserve type information to pass to m2c2kit. That happens by spelling the parameters exactly as noted in the links above, and the types need to be passed with a double color (::) separator. For example, if I wanted 1 trial I would specify the URL param as: number_of_trials=1::int
Available data types are:
intfloatbooleanbase64jsonuri
The link below is an example of a task demo for Symbol Search, with 3 trials:
Data Access
-
Once you are ready to start your study, register your study data users and study ID on our portal following the Authorization Guide.
-
Once you receive your study ID and API key, use the url generator to put produce links and insert into MetricWire: Link Generator.
IMPORTANT: Make sure you have done this for all your existing URLs for each survey you have set up. Otherwise, you will not collect the data.
-
Save changes and sync your study.
-
Publish and produce some test data.
-
Use the Jupyter Notebook for data extraction and confirm that you are receiving data.
- If you are at this stage, you should have followed the Authorization Guide mentioned above and requested your study ID and study data users by filling out the forms referenced in the Authorization Guide.
-
After testing your study thoroughly, collect data!
- It is essential to make sure you are receiving data before going live. You should also check that you can cross-link your survey data with your cognitive assessment data using the session_id.
Using this documentation would allow you to get started to collect data from m2c2kit assessments via Metricwire.